
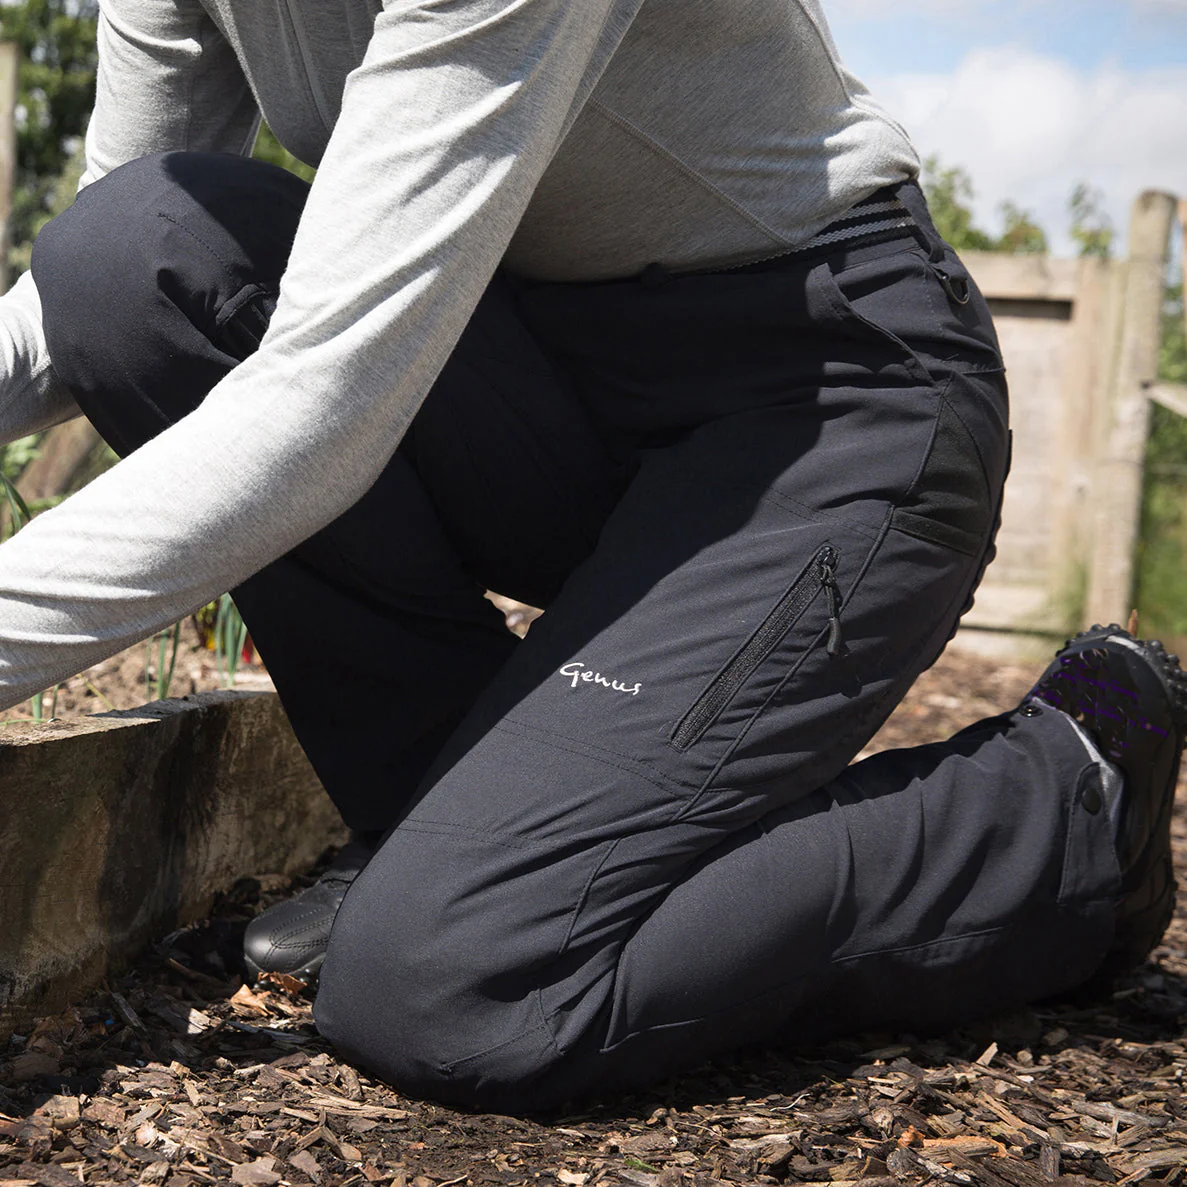

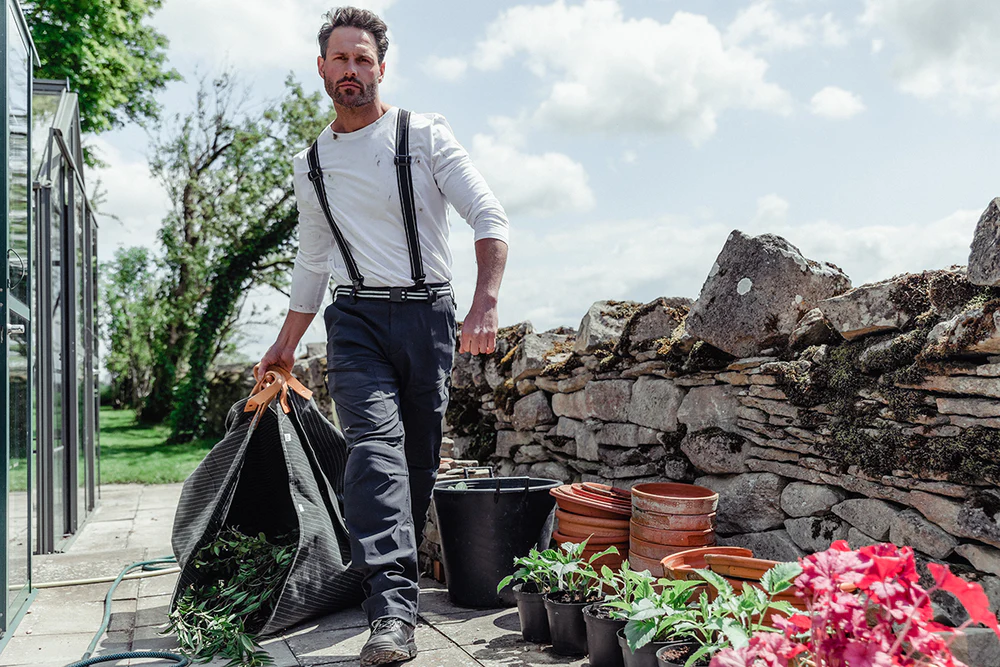


Gardeners' notes - what to do in August

Propagate clematis
Many clematis will have flowered by now and you may have spotted a particularly good performer in your own or a friend’s garden. Now is a good time to propagate some of these favourites from cuttings.
Find a long single stem that can be removed low down. This will provide you with plenty of cuttings. To make the individual cuttings, cut the stem with secateurs just above the point where two leaves are growing, then make a cut in the stem 6-7cm below these leaves. Clematis are relatively unusual in that the rooting hormones are located between the leaf nodes (internodal) rather than at them (nodal). These cuttings, maybe half a dozen from one long stem, can then be buried up to their necks with their leaves above a gritty compost. We use compost with some grit added in a two or three litre pot. The pot can then be placed in a propagator or in a shaded spot where a plastic bag can be loosely placed over the top. We often cut the corners out of the bag so that the environment isn’t too humid. After about six to eight weeks new growth will be spotted and roots should have formed. Each cutting can then be transferred into an individual 9cm pot to grow-on in a cool greenhouse or cold frame before being planted out in spring next year.
Lift and divide Iris
Iris are the sort of plant that seem to trudge on despite neglect but eventually start to show their objection to being ignored with a refusal to flower. You’ll notice that the wonderful floriferous clump starts to become less of a spectacle over a number of years before realising that there are suddenly no flowers at all. This situation, though regrettable, is easily remedied.
Using a border fork, lift the rhizomes, and shake or wash off excess soil. Cut off the sword-like leaves and put them to one side, preferably in the shade. Improve the soil where they have been with the addition of some homemade compost. The Iris can then be replanted, but give them plenty of space - it was congestion that caused this situation. Spacing of a hand's width is usually sufficient. Replant healthy looking rhizomes. Some can be trimmed to remove dead portions or to remove errant roots. Any particularly small specimens can be planted into a spare bit of ground, perhaps in the vegetable garden where they will plump up and be used elsewhere in a year's time. Any excess can be moved to another area of the garden or potted up and given to friends. Rhizomes prefer to have their backs just showing above soil level. An old experienced gardener always told us to have the rhizomes pointing south as they like to be baked in the sun. This isn't critical but it is a useful rule to follow.
Keep trimming excess foliage on grapes
It’s a simple job, and maybe one you’ve been doing on and off for several months, but don’t forget to keep trimming the foliage on your grape vines. It’s tempting to let them grow unhindered but you’ll very soon end up with the daunting prospect of renovating an out of control behemoth. We simply remove any new growth down to a set of leaves just above a bunch of forming grapes. Some new growth can be retained and tied to wires if it is heading in the direction intended.
Removal of excess growth will keep the vine tight against the wall or structure and allow sun onto the ripening fruit.


