





Note 13: Apples and pears - summer pruning

Apples and Pears. Apples and Pears. No, not a lesson in Cockney rhyming slang but two plants that could do with some attention at this time of year between the trips to the lido for a swim and Lidl for a leisurely stroll in the wonderful air-conditioned freezer aisle.
I’ve been up on the tripod ladder today giving the espaliered apples their annual summer prune, a job I’ve been carrying out for over 20 years now. Summer pruning which I’ll explain in a paragraph or two is the removal of this year's growth to expose the developing fruit to sunlight and air to enhance ripening and reduce the possibilities of fungal disease by reducing congestion and improving airflow. As well as restricting the overall size of the tree, removing this material also encourages more fruiting buds to form. The only time you might not carry out summer pruning is if you have a tip-bearing variety, something that we see less of in modern varieties.
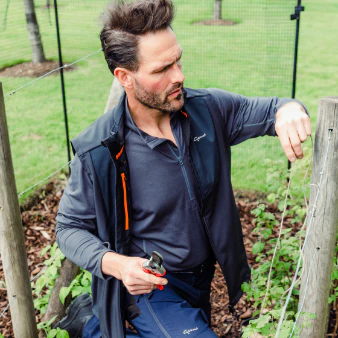
With my freshly sharpened secateurs (a sharp blade gives a cleaner cut) I start by removing everything that is accessible from the ground. When I say everything, I’m referring to the forest of straight growth that has appeared over the last 3 or 4 months. Take each shoot down to leave around 3 or 4 leaf buds on the resulting stub. With a large tree or lots of them there’s no need to count every leaf. You’ll get a feeling for the spacing and quickly work your way through the tree removing the shoots down to approximately 4 or 5 inches. It’s not critical, you’ll be revisiting the tree in the winter when all the foliage has gone and you’ll get a good look at the results of your earlier work which can be tweaked then.
While working your way through, keep an eye open for rotting or diseased fruit, broken branches which can be removed, or in the case of trained examples any stems that need tying in. When everything at ground level has been dealt with I progress to a 50cm high builders platform before moving onto the tripod ladder. When finished most of the arisings will go on the compost heap but anything larger can go into an invertebrate pile or a dead hedge. (see this blog - Dead Hedges - positively alive 1st January 2026)
While the ladder is out and your secateurs are sharp, there is a third plant that could benefit from some attention. Your Wisteria. By now it will have sent out a profusion of whippy growth with some up to 4 metres long. These can be cut back to about 30cm. With a newly planted or young specimen save any that are heading in the right direction and can be tied on to previously erected support wires. If you're lucky your Wisteria will also be experiencing a second flush of flowers. Not as breathtaking as the late spring display but welcome nonetheless.
When all is done, retire to the freezer aisle once again or the understairs cupboard, a spot which the dog has found to be the coolest in the house.


